Many people with crooked teeth are embarrassed about smiling. Even though I had relatively straight teeth for most of my teenage years and early adulthood, overtime the lack of space for my wisdom teeth slowly moved my teeth crooked.
Once in my forties, I became frustrated with food getting stuck in my teeth, and a little bit self conscious from the overcrowding. My teeth were in pretty good shape and it was only cosmetic, but for some, crooked teeth can lead to oral health decline due to not being able to clean teeth effectively which can also impact overall health.
We’ve all met someone who doesn’t like to get their photo taken because of their teeth. This low self esteem can impact their wellbeing, work, and life. If you’ve never doubted your teeth, you may not realise that having straight teeth and a smile you are proud of can drastically improve your life.
Whether your teeth are in their teenage years or are well into their life – having a smile that you are proud of can greatly improve your life. But if you have teeth that you are unhappy or insecure with, you have 3 choices – braces, clear aligners, or remain the same.
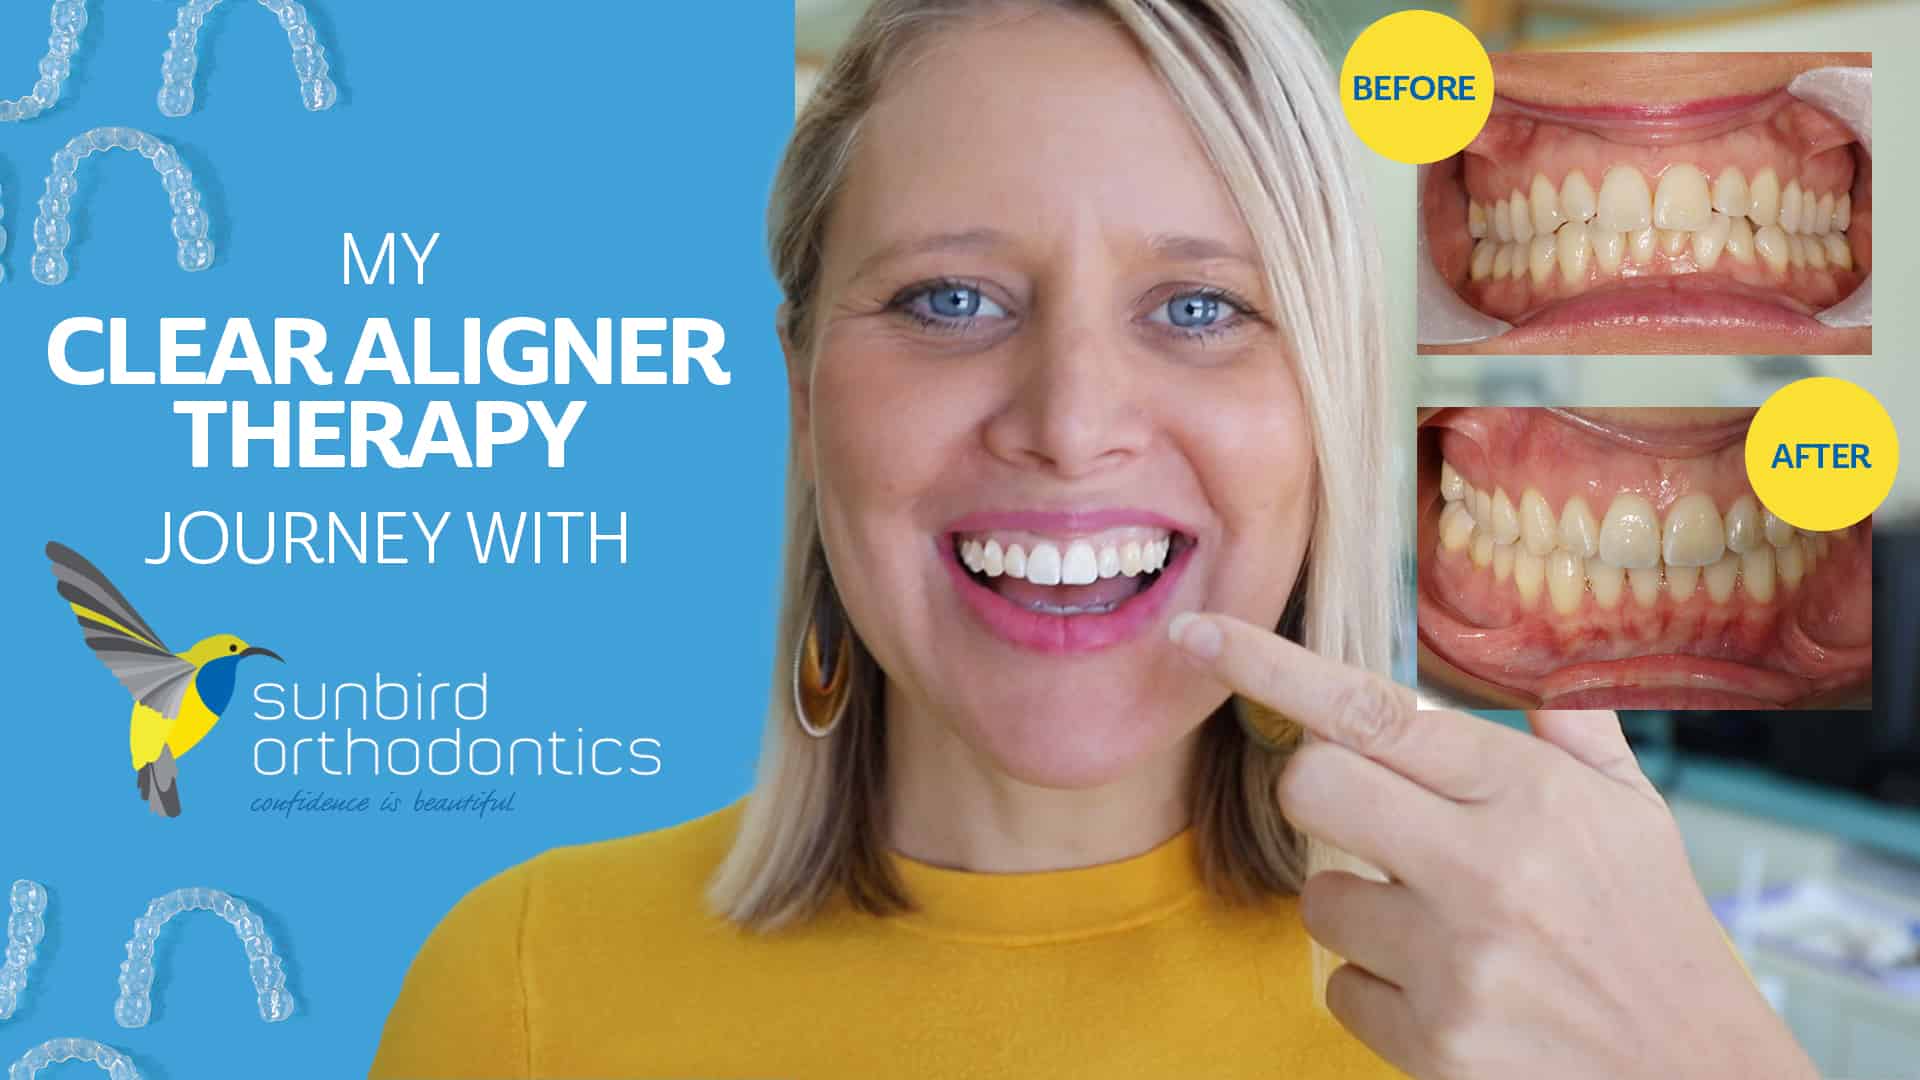
I bit the bullet, and decided to try clear aligner therapy, and I am so glad I did.
Clear aligner therapy is an alternative to braces. A series of special aligners are made for your teeth that you wear 23 hours a day. You take them out just for eating and drinking, which is one of the reasons why they are really great and versatile.
The process is quite simple, but extremely scientific – that is why Orthodontists train for nearly a decade to learn this incredible skill. With technology they can predict and plan how to best straighten your teeth in the shortest time possible. However, regular check-ups are imperative, to ensure everything is on track and progressing as planned.
The treatment happens in 7 easy steps.

Step One
Make an appointment to see if you are a good candidate for clear aligner therapy. Complex teeth may require braces, and for some people, braces are a much easier option as they are set and forget, as opposed to clear aligners that require self control and management. So the first step is to chat to your orthodontist to see if you are a good candidate.

Step Two
Your teeth are 3D scanned and then analysed by an experienced orthodontist (in my case, Dr Bobby from Sunbird Orthodontics). He planned the strategy that would give my teeth the best result, and through this he had to determine where he would put glue to hold and move my teeth, and plan out my series of retainers for production.

Step Three
The retainers are planned and sent off to be created. My treatment took 10 months, some people may require 12 – 24 months depending on the severity and complexity of treatment. That is why early intervention and prevention is always recommended.

Step Four
Time to get your aligners fitted. You can see on the screen how your teeth are now, and what they will look like once your aligner journey is completed – it’s incredible! You will have glue placed in very strategic places to achieve the best outcome for your teeth, and fitted with your first aligner. You will then be given a box of your first round of aligners to take home and change once a week. Throughout the process, you’ll notice your teeth slowly move into their new positions.

Step Five
You will have several check ins during your treatment phase, to ensure your teeth are moving as planned. During my treatment it was decided to remove the glue and reposition for a new lot of aligners, and an even better result – the process is so uniquely specialised and personal.

Step Six
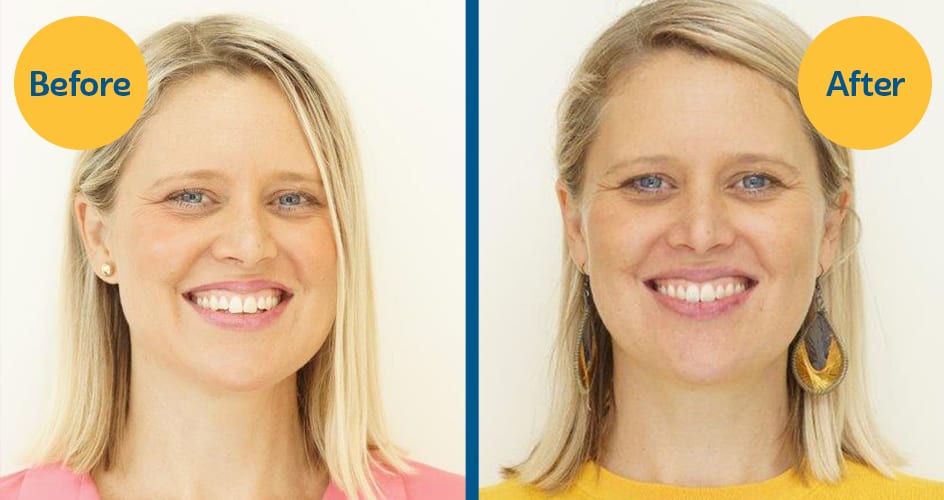
Once you have completed your last clear aligner, you’ll have the glue removed and some wire placed on the inside of your teeth to ensure they stay in their new position forever. Because your teeth have a root system that will take several months to settle into place, you do need to continue to wear a night retainer for at least another year. When this process is finished, you’ll see your beautiful new smile and be absolutely thrilled with the result.
Step Seven
Continue to wear your night retainer, and check in again with the Orthodontist in 6 months time to ensure everything is still in place. All in all, I found the process to be well worth the investment, time and money. The results speak for themselves.
If this sounds like something you’d like to try, give the team at Sunbird Orthodontics a call, and if you mention me or PakMag, you’ll get your first appointment free.
Watch Bree’s Clear Aligner Therapy Review